holy comoly
it actually works! without me tweaking too much LOL
for anyone who wants to play with the Tensorflow object detection using your live video cam - now you can with the below code!! it’s just around 100 lines? pretty crazy!!
Points to note:
-
I’d recommend just running through the jupyter notebook at least once (just to get all the installation and model download done) at https://github.com/tensorflow/models/blob/master/research/object_detection/g3doc/installation.md
-
Save the below code into a .py file and run it from your terminal (you will meet with errors if you run it using tensorflow - e.g. the window cannot be closed)
-
Press ‘q’ to close the window after you are done playing with it! The output video is saved to ‘output_live.avi’
-
if you want to try it on a video file instead of your live camera, replace this portion
cap = cv2.VideoCapture(0)withcap = cv2.VideoCapture('your_video_filename.mp4')instead.
import cv2
import numpy as np
import os
import six.moves.urllib as urllib
import sys
import tarfile
import tensorflow as tf
import zipfile

from collections import defaultdict
from io import StringIO
from matplotlib import pyplot as plt
from PIL import Image

sys.path.append("..") # needed to create the path

from utils import label_map_util
from utils import visualization_utils as vis_util

## define variables
MODEL_NAME = 'ssd_mobilenet_v1_coco_2017_11_17'

# Path to frozen detection graph. This is the actual model that is used for the object detection.
PATH_TO_CKPT = MODEL_NAME + '/frozen_inference_graph.pb'

# List of the strings that is used to add correct label for each box.
PATH_TO_LABELS = os.path.join('data', 'mscoco_label_map.pbtxt')
NUM_CLASSES = 90

# load model into memory
detection_graph = tf.Graph()
with detection_graph.as_default():
  od_graph_def = tf.GraphDef()
  with tf.gfile.GFile(PATH_TO_CKPT, 'rb') as fid:
    serialized_graph = fid.read()
    od_graph_def.ParseFromString(serialized_graph)
    tf.import_graph_def(od_graph_def, name='')

# load label map
label_map = label_map_util.load_labelmap(PATH_TO_LABELS)
categories = label_map_util.convert_label_map_to_categories(label_map, max_num_classes=NUM_CLASSES, use_display_name=True)
category_index = label_map_util.create_category_index(categories)

with detection_graph.as_default():
  with tf.Session(graph=detection_graph) as sess:
    # Definite input and output Tensors for detection_graph
    image_tensor = detection_graph.get_tensor_by_name('image_tensor:0')
    # Each box represents a part of the image where a particular object was detected.
    detection_boxes = detection_graph.get_tensor_by_name('detection_boxes:0')
    # Each score represent how level of confidence for each of the objects.
    # Score is shown on the result image, together with the class label.
    detection_scores = detection_graph.get_tensor_by_name('detection_scores:0')
    detection_classes = detection_graph.get_tensor_by_name('detection_classes:0')
    num_detections = detection_graph.get_tensor_by_name('num_detections:0')

    # Create a VideoCapture object
    cap = cv2.VideoCapture(0)

    # Check if camera opened successfully
    if (cap.isOpened() == False):
      print("Unable to read camera feed")

    # Default resolutions of the frame are obtained.The default resolutions are system dependent.
    # We convert the resolutions from float to integer.
    frame_width = int(cap.get(3))
    frame_height = int(cap.get(4))

    # Define the codec and create VideoWriter object.The output is stored in 'output_live.avi' file.
    out = cv2.VideoWriter('output_live.avi',cv2.VideoWriter_fourcc('M','J','P','G'), 10, (frame_width,frame_height))

    while(True):
      ret, frame = cap.read()

      if ret == True:
        # renaming for my laziness
        image_np = frame
        # Expand dimensions since the model expects images to have shape: [1, None, None, 3]
        image_np_expanded = np.expand_dims(image_np, axis=0)
        # Actual detection.
        (boxes, scores, classes, num) = sess.run(
            [detection_boxes, detection_scores, detection_classes, num_detections],
            feed_dict={image_tensor: image_np_expanded})
        # Visualization of the results of a detection.
        vis_util.visualize_boxes_and_labels_on_image_array(
            image_np,
            np.squeeze(boxes),
            np.squeeze(classes).astype(np.int32),
            np.squeeze(scores),
            category_index,
            use_normalized_coordinates=True,
            line_thickness=8)
        plt.figure(figsize=(frame_width,frame_height))
        plt.imshow(image_np)

        # Write the labelled image into the file 'output_live.avi'
        out.write(image_np)

        # Display the resulting frame
        cv2.imshow('frame', image_np)

        # Press Q on keyboard to stop recording
        if cv2.waitKey(1) & 0xFF == ord('q'):
          break

      # Break the loop
      else:
        break

# When everything is done, release the video capture and video write objects
cap.release()
out.release()

# Closes all the frames
cv2.destroyAllWindows()
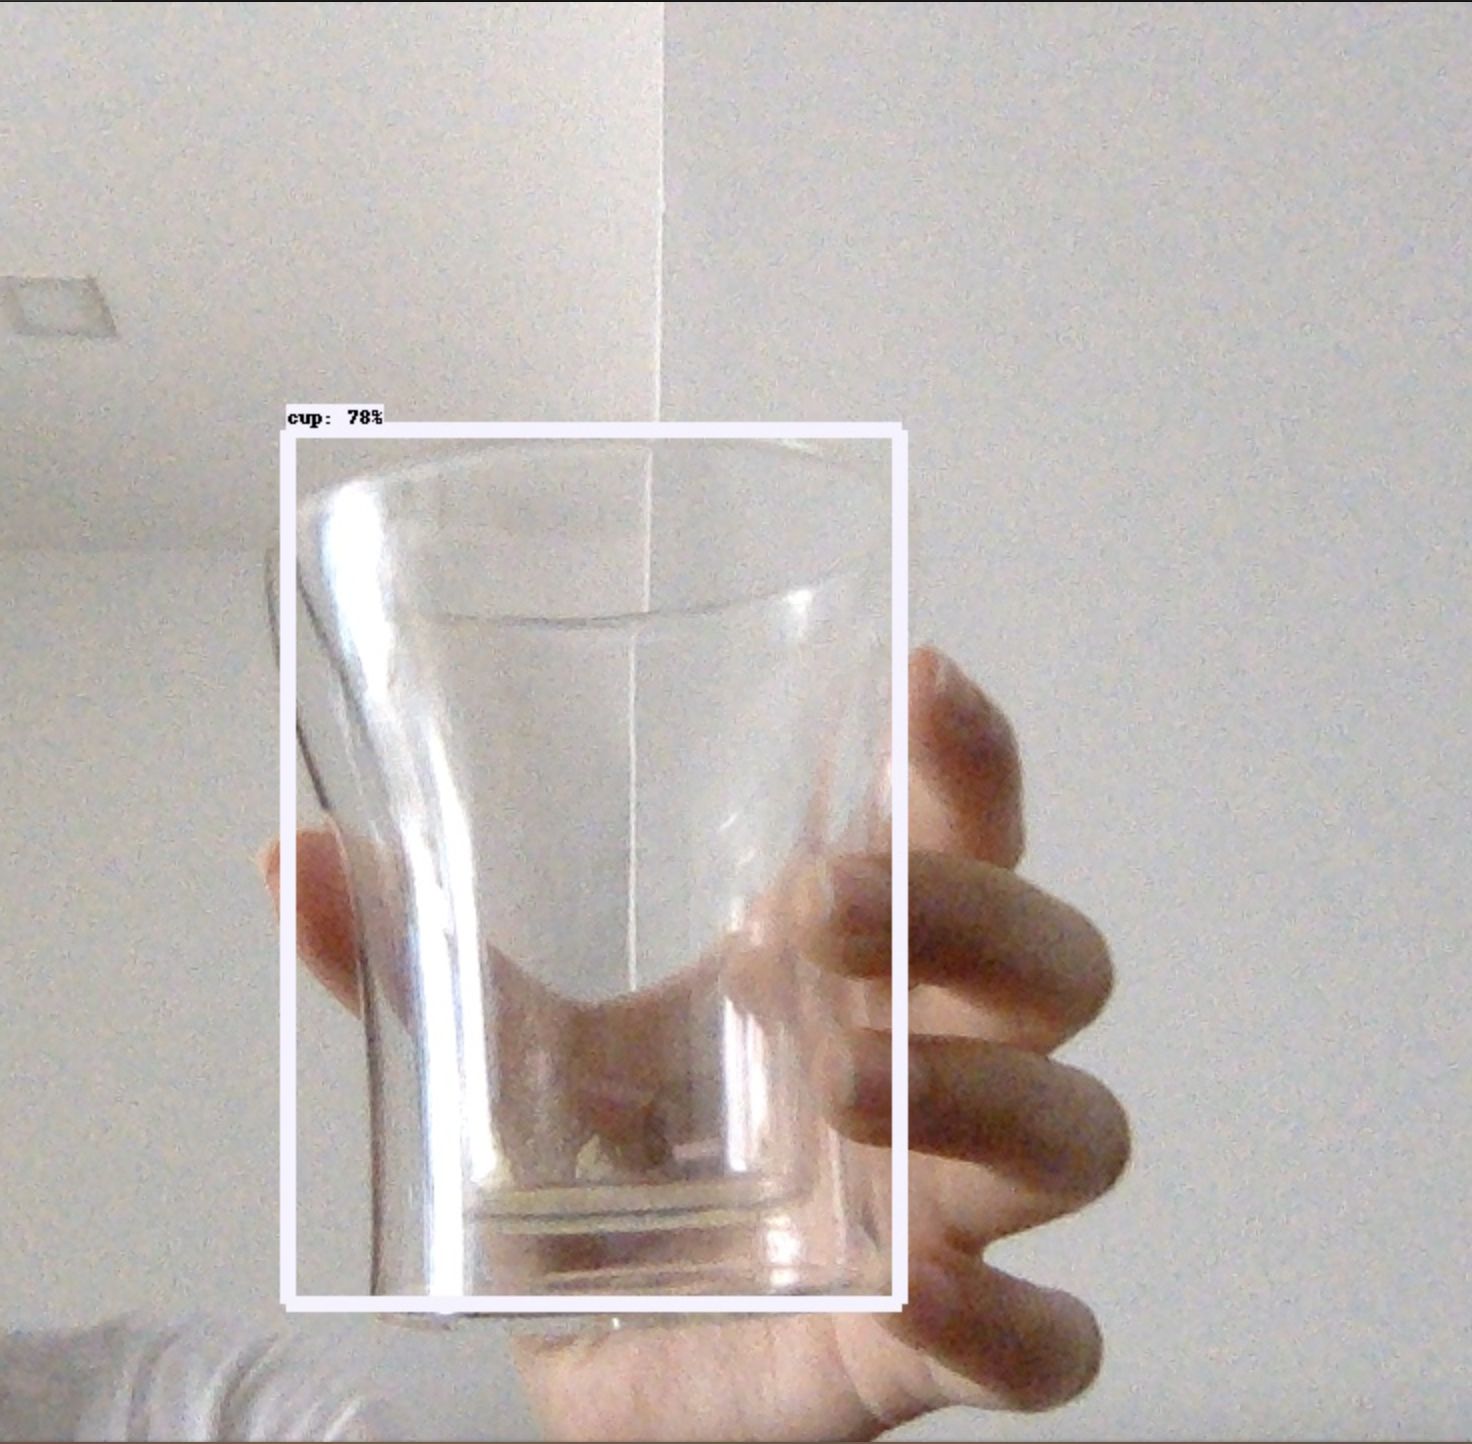
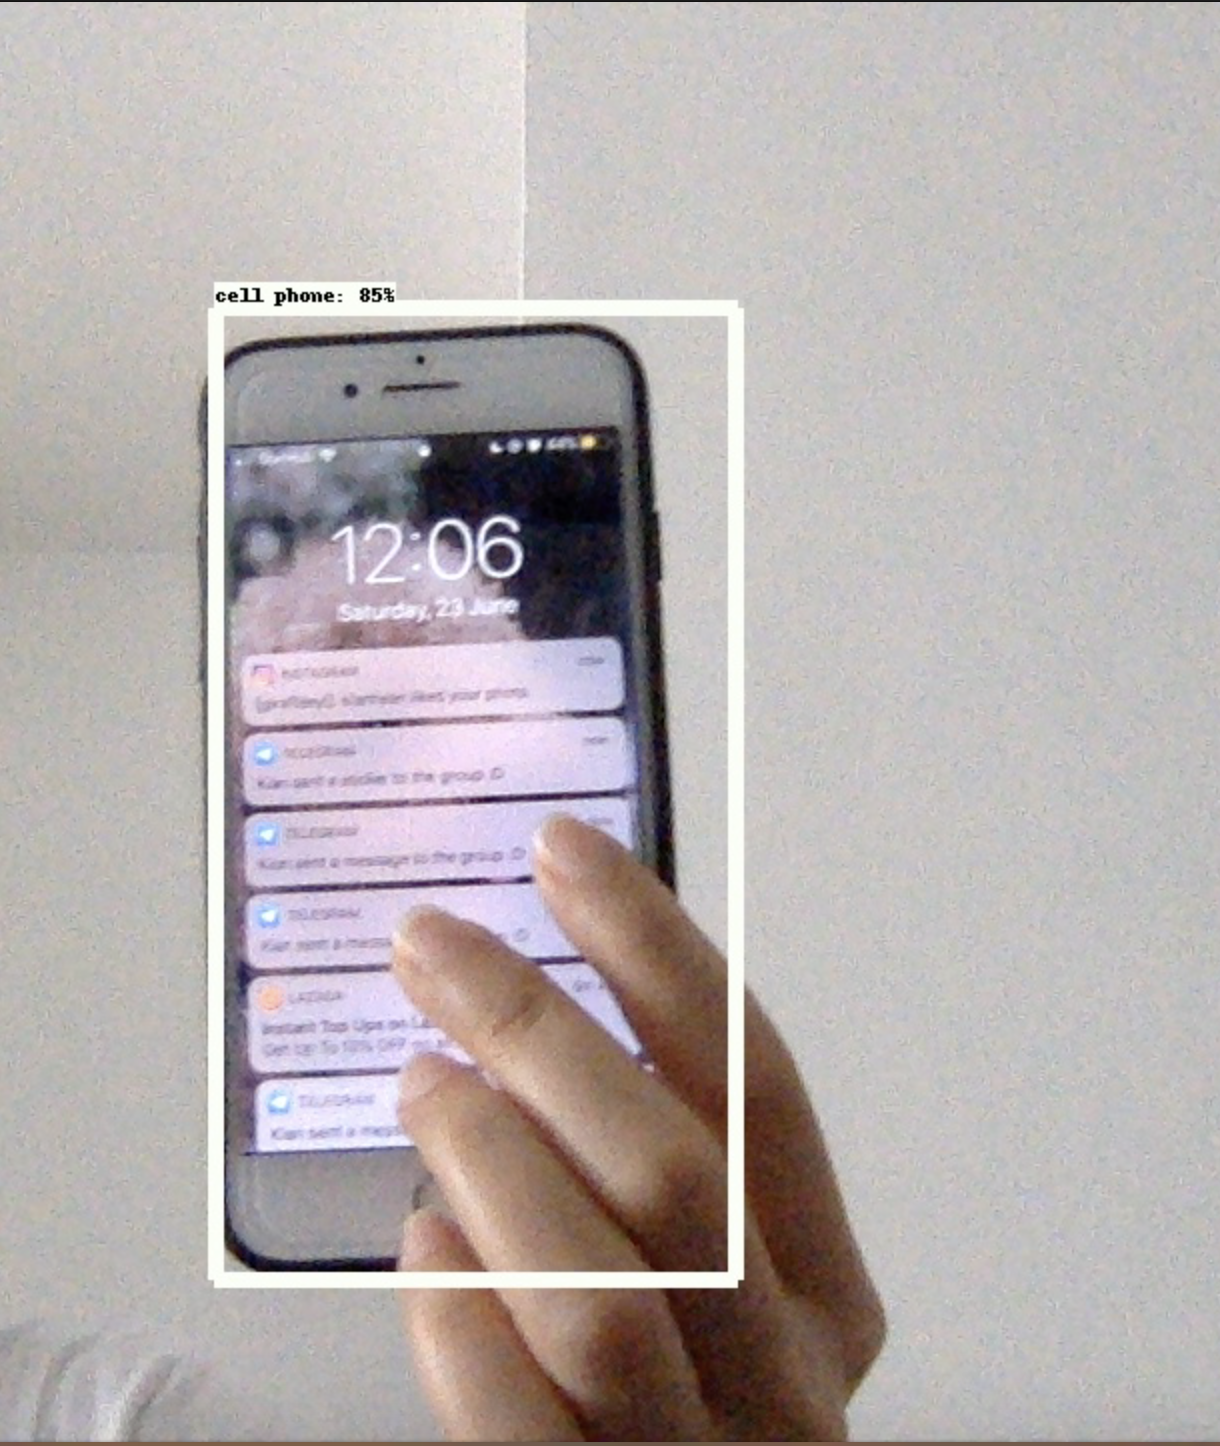
Some screenshots for fun laughter peace and joy lol
And now moving on to the REAL deal - customising the model to make it do what I want it to do. gulps…